8.1 Pre-commissioning checks
Commissioning means proving that an installed system works as designed. Pre-commissioning is everything you check before the compressor runs for the first time. Think of it like checking oil, water and tyres before a long drive on the highway.
Problems found now cost a few minutes. The same problems found after start-up can cost a compressor. A dry pump, a closed valve or a reversed phase can cause damage within minutes.
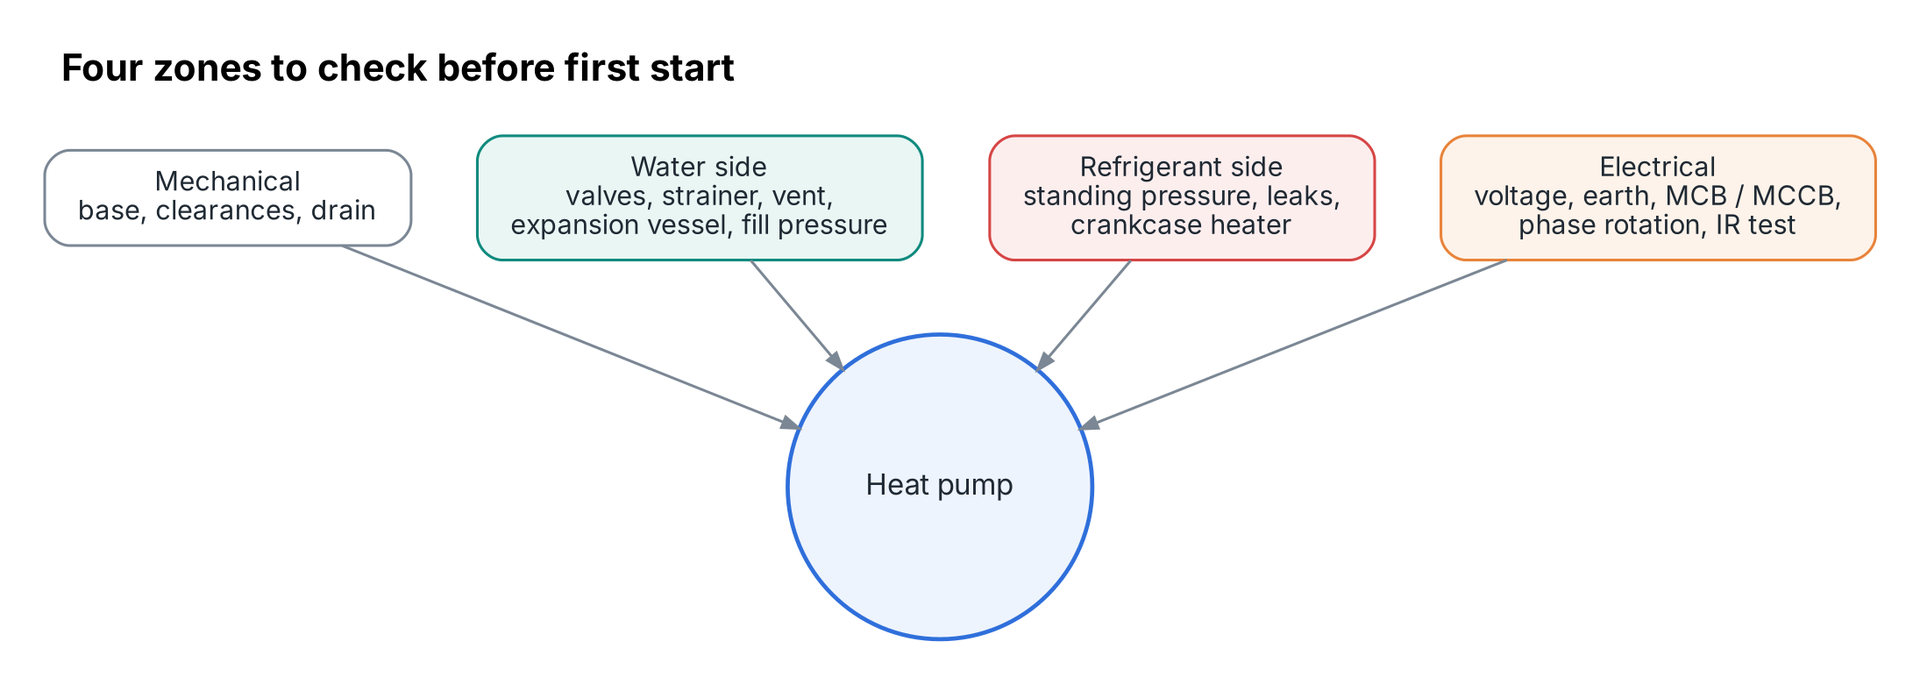
Work in four groups: mechanical, water side, refrigerant side and electrical. Tick each item only after you have seen it yourself, not because someone told you.
Commissioning checklist
Mechanical
- Unit sits level on a firm base or frame, with anti-vibration pads fitted.
- Air clearances around the coil and fan match the installation manual.
- No air short-circuit: discharge air cannot return to the coil inlet.
- Condensate and defrost drain is free and slopes away from the unit.
- All transport brackets and packing inside the unit are removed.
Water side
- Piping is flushed clean before connecting to the heat pump.
- Strainer is fitted on the inlet to the heat pump and its mesh is clean.
- All isolation valves on the heat pump circuit are open.
- Air vents are fitted at high points and the system is fully vented.
- Closed system: cold fill pressure is set (typical 1.5–2.0 bar) and the expansion vessel pre-charge is checked.
- Water side pressure test passed (typical 1.5 × working pressure, held with no drop).
- Water quality is checked: hardness and TDS recorded; softener or treatment fitted where water is hard.
- Circulating pump turns freely and rotates in the correct direction.
- Flow switch is fitted in the correct direction and wired.
- Pipes and fittings outdoors are insulated and UV protected.
Refrigerant side
- Monoblock: standing pressure on the gauges is present (unit not empty).
- Split: nitrogen pressure test passed, vacuum below 500 micron (typical), charge as per manual.
- No oil stains at brazed joints, valves or flare nuts.
- Service valves are fully open (split units) and caps refitted.
Electrical
- Supply voltage at the unit terminals is within ±10% of nameplate (typical).
- Three-phase: voltage imbalance between phases is below 2% (typical).
- Phase sequence is correct (phase rotation meter or controller check).
- Cable size, MCB/MCCB rating and RCCB match the manual.
- Earth is connected and earth continuity is checked.
- Insulation resistance of compressor windings to earth is above 1 MΩ (500 V tester, typical minimum).
- All terminal screws are tightened, including inside the control panel.
- Crankcase heater has been energised for the time stated in the manual (typical 12–24 hours).
| Check | Typical value | Why it matters |
|---|---|---|
| Closed-loop fill pressure (cold) | 1.5–2.0 bar | Prevents air entry and pump cavitation |
| Insulation resistance | > 1 MΩ | Detects wet or damaged motor windings |
| Supply voltage | ±10% of nameplate | Low voltage overheats the compressor motor |
| Voltage imbalance (3-phase) | < 2% | Imbalance causes high current in one winding |
| Crankcase heater on before start | 12–24 h | Drives liquid refrigerant out of the oil |
Remember
- Never start a heat pump with closed water valves or an unvented circuit.
- Wrong phase sequence can damage a scroll compressor within minutes.
- Measure insulation resistance before first power-up, not after a fault.
- Record every reading; the checklist becomes part of the handover file.
Most start-up failures are caused by things that could have been found with the power still off.
There are no comments for now.
to be the first to leave a comment.